Five stages, in order, with the drying time they need.
Most drywall problems are schedule problems. A coat that goes on before the last one dried, a texture matched from memory, a wall closed up before anyone looked at it under a raking light. This is the sequence we hold to, and why each stage takes as long as it does.
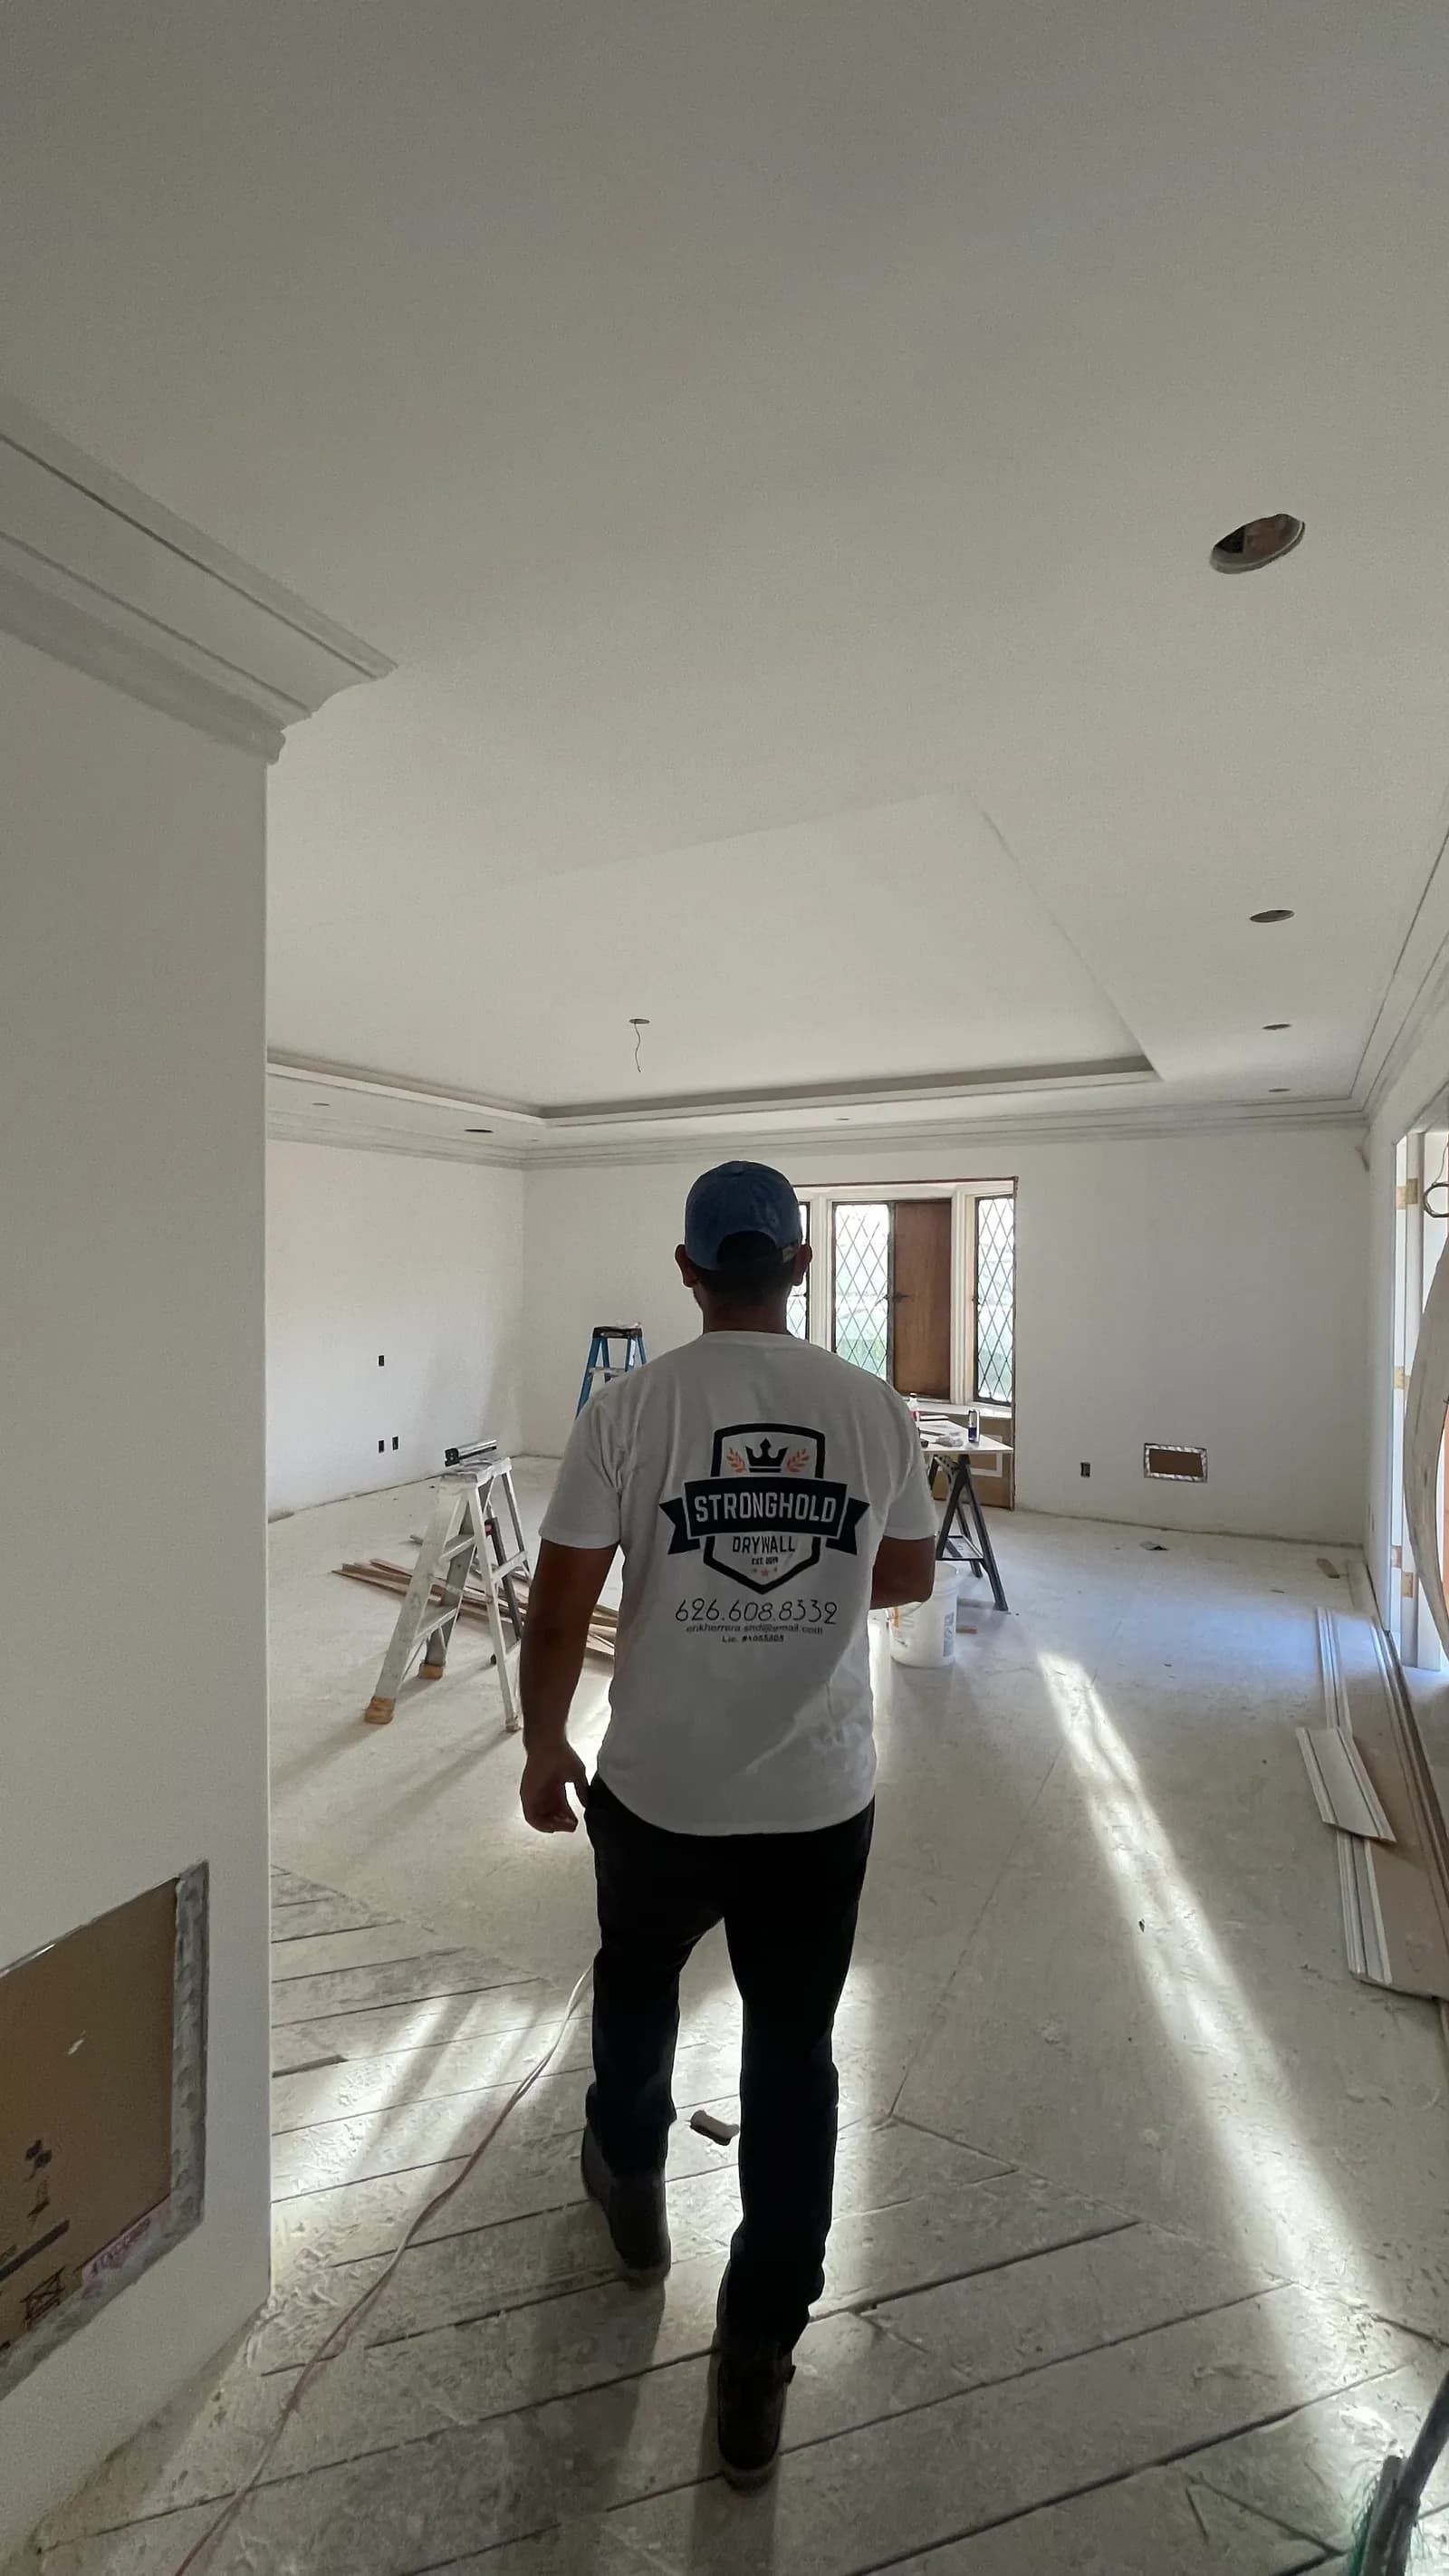
Estimate & takeoff
A real number and a real date, both in writing, from a real takeoff.
We walk the site or read the drawings, do a proper material and labor takeoff, and confirm the finish level before we quote. A number that arrives in ten minutes is a guess, and a guess becomes a change order later. Ours takes two days because it is the price we intend to hold, and the completion date comes from our actual crew load, not from what you want to hear. If the honest date is four weeks, we say four weeks.
- Site walk or plan review
- Board, framing, and finish takeoff
- Finish level confirmed against the spec
- Written scope with inclusions and exclusions stated
- A completion date checked against current crew load
Written estimate with scope, finish level, and a date we will hold to.
Framing & hang
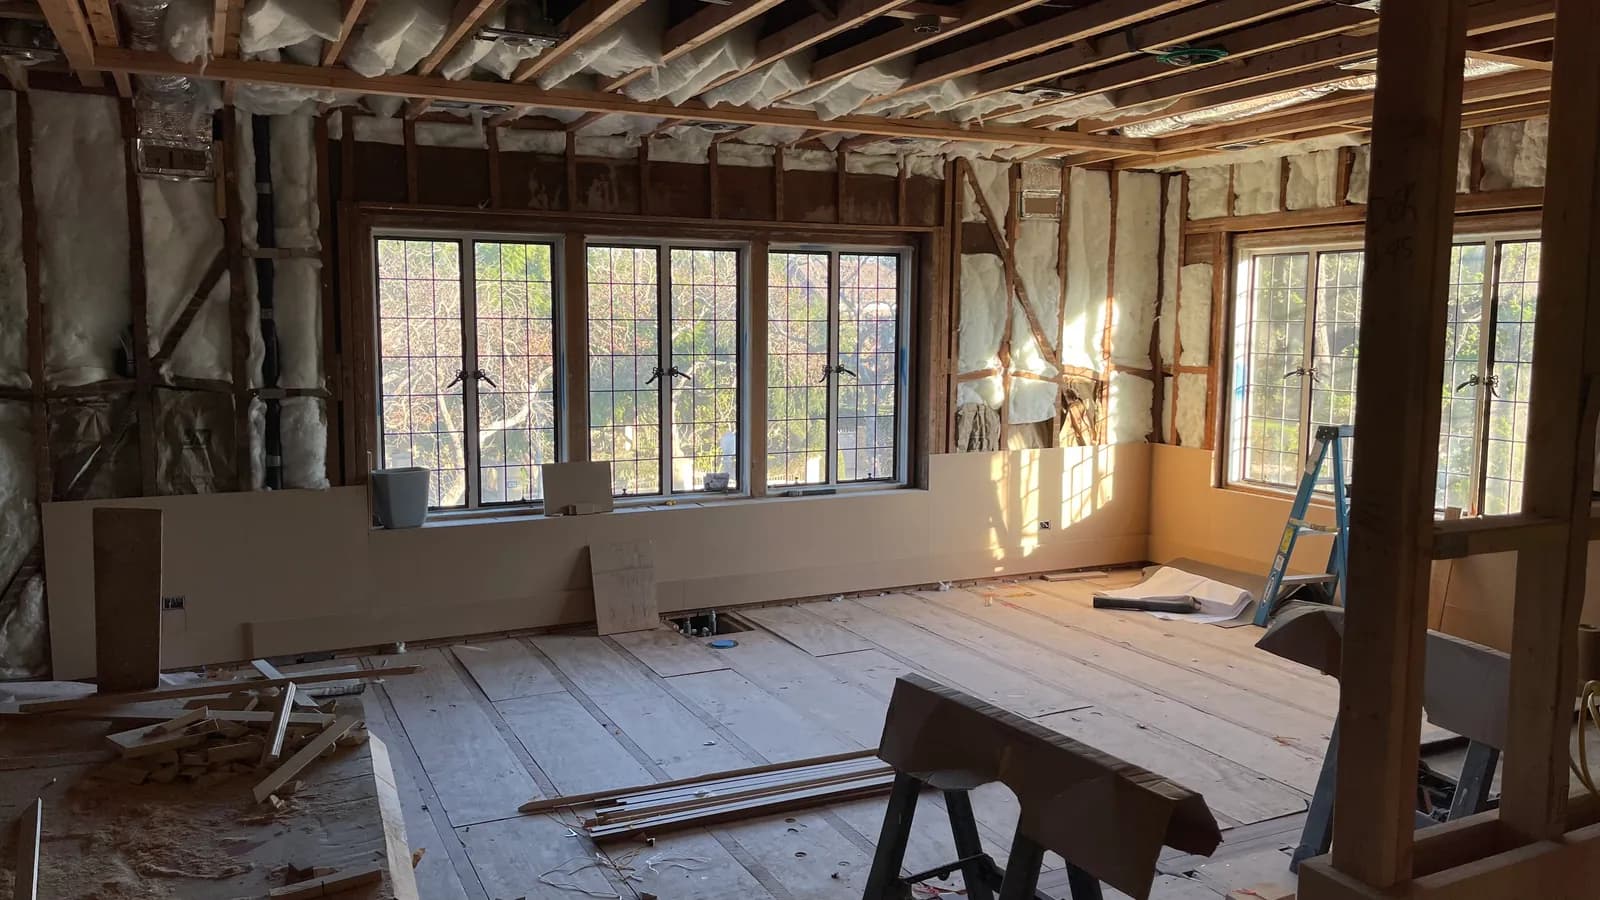
Straight walls. Everything after this depends on it.
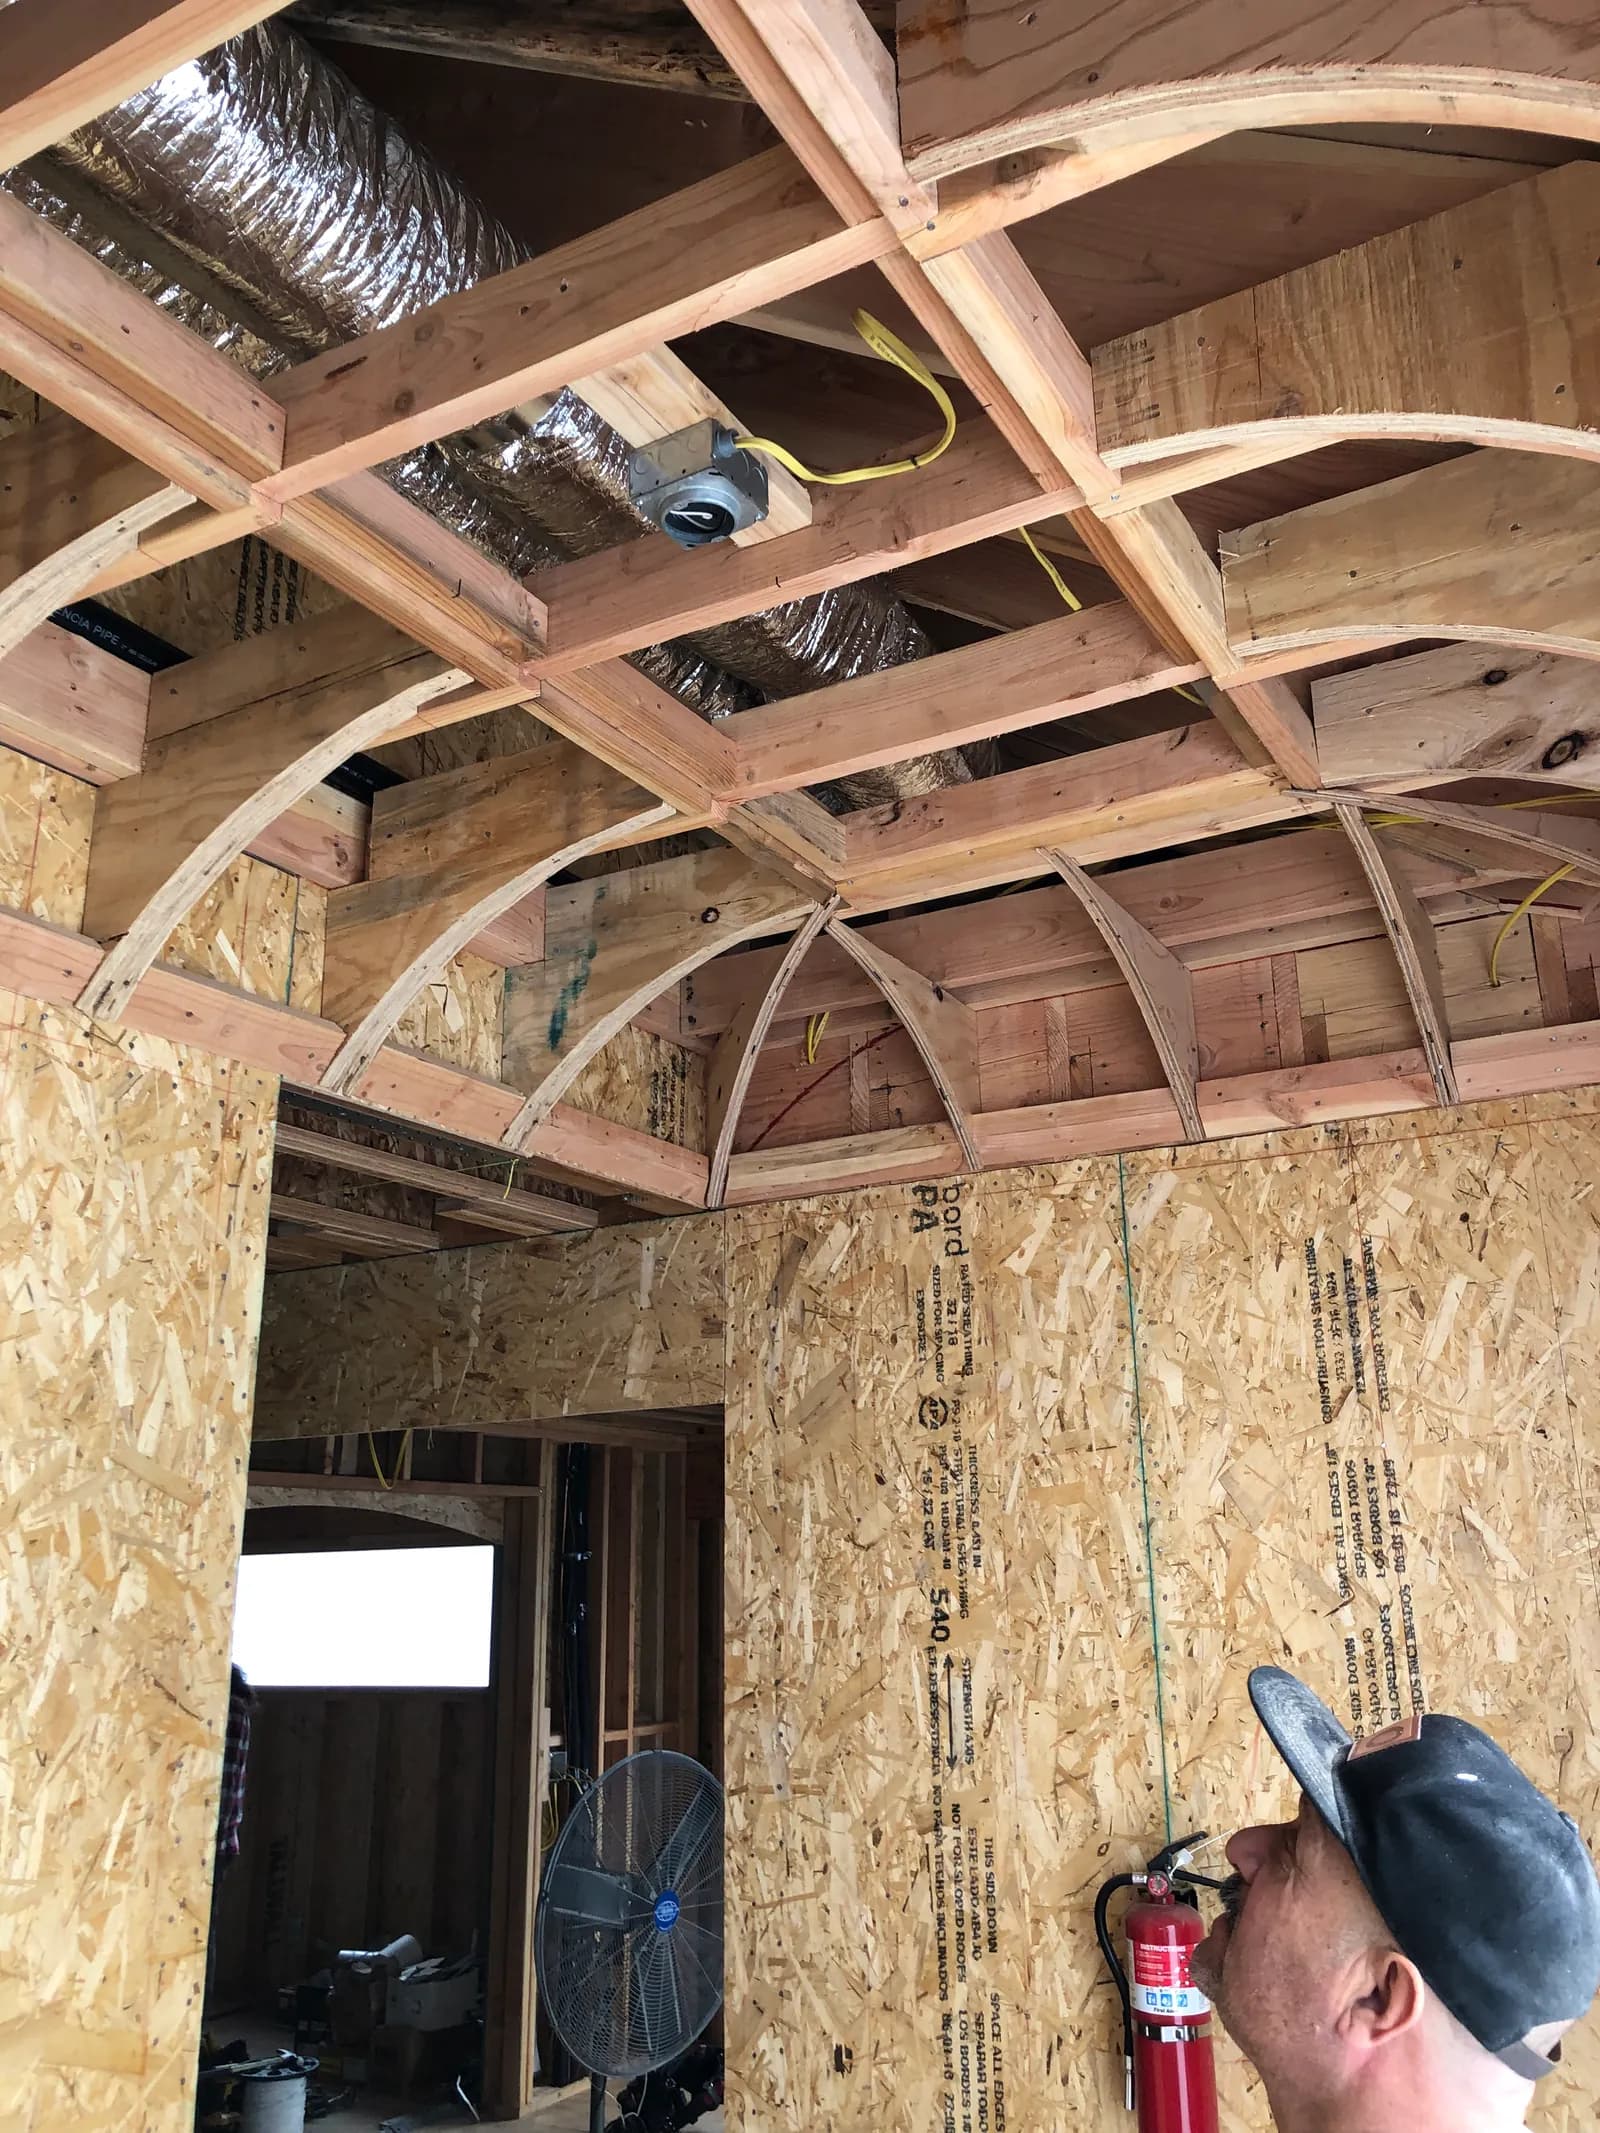
Metal stud or wood, layout snapped from the chalk line, plumb and straight before a single sheet goes up. Board is hung to minimize butt joints, screws set to depth and not through the paper, and every fire-rated and acoustic assembly built to its listed detail. A wall that is out here cannot be fixed with mud.
- Layout snapped and walls set plumb
- Framing to the listed assembly for rated walls
- Board hung to minimize butt joints
- Screws set to depth, not broken through the face paper
Board up, ready for tape. Framing inspection passed.
Tape & mud
Coats, with drying time between them. No shortcuts here.
Tape embedded, then separate coats over joints, angles, fasteners, and accessories. The number of coats is set by the finish level in the spec. Each coat dries before the next goes on. Rushing this stage is the single most common cause of ridging, cracking, and seams that telegraph through paint a year later.
- Tape embedded in compound
- Separate fill and finish coats per GA-214 level
- Full dry time between coats
- Sanded flat, tool marks and ridges removed
Surface at the specified GA-214 finish level.
Texture
Matched to a sample you approved, not to our memory.
If the job calls for texture, we shoot a sample board first and you sign off before anything touches the wall. On repairs and additions, matching the existing texture is the whole job: orange peel, knockdown, skip trowel, or the hand textures common in older Southern California homes. If the job calls for smooth, we skip this and skim instead.
- Sample board produced and approved
- Spray or hand texture applied to match
- Blended into existing surfaces on repair work
- Or: full skim coat for Level 5 smooth wall
Texture applied and matched, or Level 5 skim complete.
Final finish & walkthrough
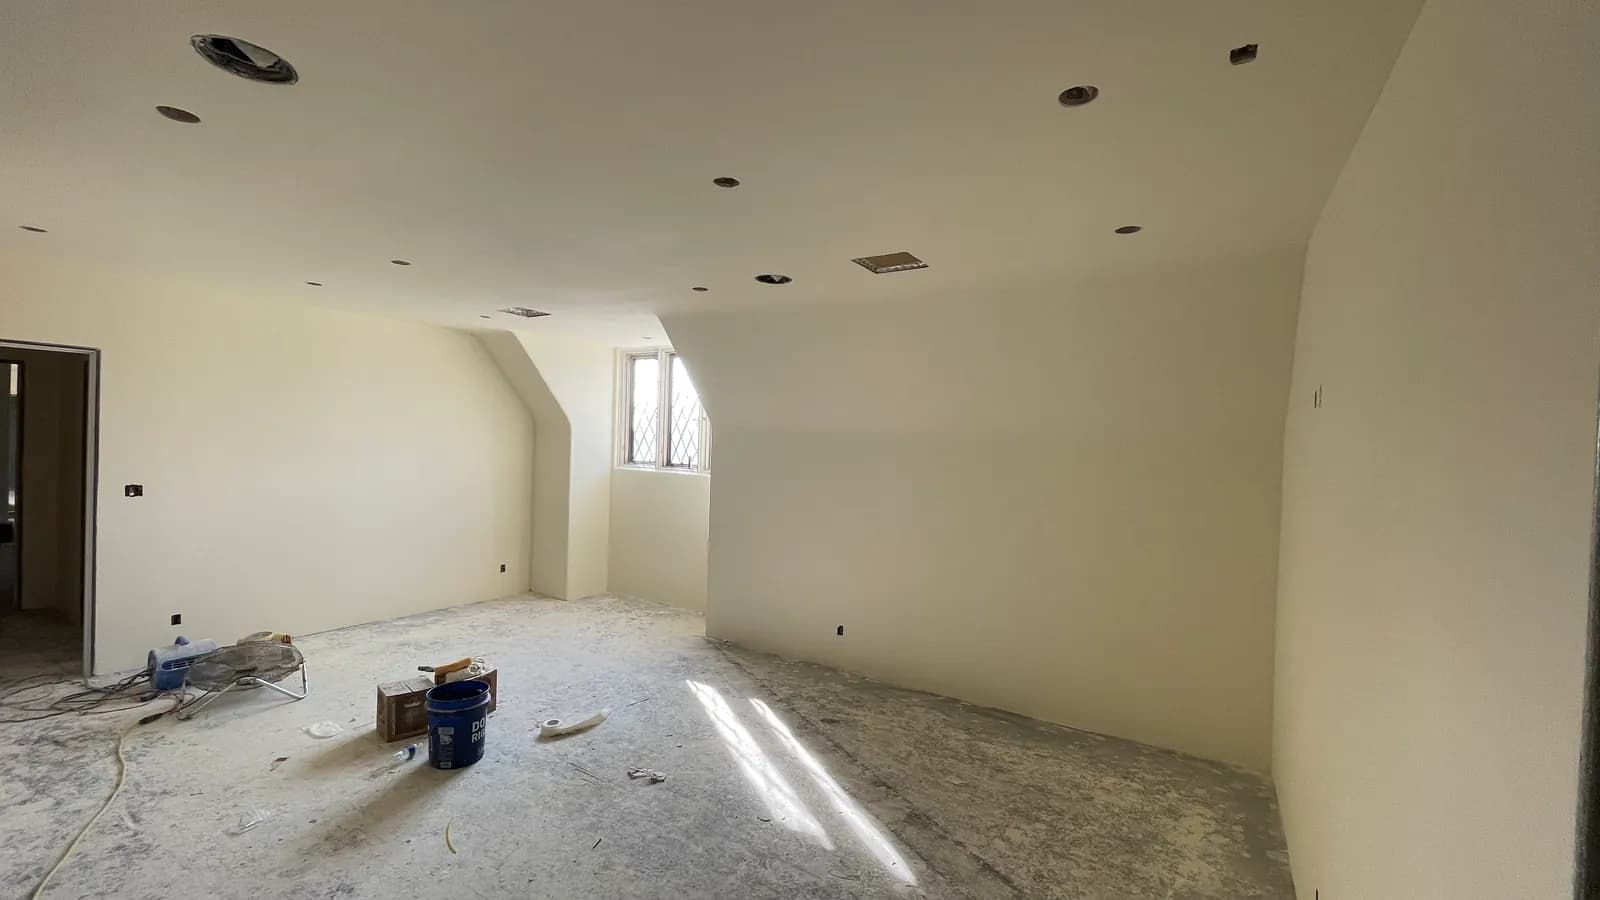
We look at it under the light you will actually live with.
Primer or surfacer where GA-214 calls for it, then a walkthrough with a work light held at a low angle to the wall. That is raking light, the same test a painter will apply. Anything that shows gets fixed before we demobilize, not after your painter calls you. Site cleaned, debris hauled, floors uncovered.
- Primer or surfacer at Levels 3, 4, and 5
- Raking-light inspection with you present
- Punch items corrected on the spot
- Full cleanup and debris haul-off
Signed-off surface, cleaned site, ready for paint.